Sometimes, it seems like the old ways are simply better. The trend toward heirloom seeds, off the grid living, and organic farming are all examples of ways that people try to simplify their lives and get back to the basics. Living a “green” lifestyle is important to some people, while others simply want to cut down on their utility bills. With that purpose, some people have taken to building their own Victorian clothes airer. This device is designed to keep your clothes newer and brighter, and to allow you to dry laundry without using any electricity or gas. Here is how to make your own clothes airer.
How a Victorian Clothes Airer Works
During the Victorian era, the clothes airer served several purposes. Since clothes and fabrics were not washed as often as they are today, and fabrics were more delicate, they often were simply laid out to freshen, rather than being washed. When the fabrics were washed, they would be laid on the airer to dry.
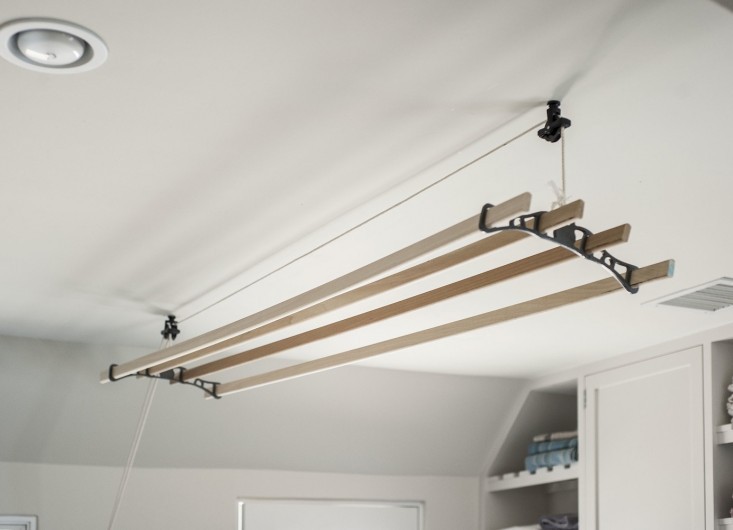
The airers were rigged with a pulley so that they could be lowered from the ceiling. Damp clothing would be laid across the framework, and the whole thing would be hoisted back up near the ceiling. Keep in mind that this was back in the days when people had very tall ceilings in their homes. The clothes would dry in the warmer air near the ceiling, in return helping to cool the spaces through evaporation.
Typically, construction of a victorian clothes airer consists of individual lathes that are threaded through a set of brackets. The brackets are connected to dual pulleys attached at the ceiling. Smaller items are draped across a single lathe, while larger ones may be draped across the entire width of the airer.
Materials
To make your very own airer, you will need several materials. The wood is lath wood, and can be either hardwood or softwood. These laths can be any length 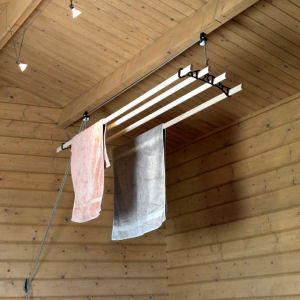 you want, based on the amount of room you have.
You will also need two pulleys: one to accommodate each end of the airer. A rope, roughly around 30 feet long, and a cleat around which to wrap the rope will allow you to raise and lower the device easily.
There should be a bracket at each end of the airer. The lathes are attached to these brackets, which will form the shape of the device.
If you use wood brackets, you can screw or nail the lathes to the brackets. Some people use PVC pipe for their airers, but these typically are not very pretty. Others will use decorative cornice pieces as brackets, attaching the lathes to the sides of the brackets.
Victorian Clothes Airer Kits
There are actually Victorian clothes airer kits available on the market. These are typically made with wrought iron brackets that are quite attractive. The overall design of these airers make them a beautiful decorative addition to your room.
These drying racks make a great addition to your home, and can reduce your utility bills.